Visualization of Cadastral survey data for city maps: Difference between revisions
No edit summary |
No edit summary |
||
| Line 6: | Line 6: | ||
Open the file ''Symbol Set Amtliche Vermessung.ocd''. | Open the file ''Symbol Set Amtliche Vermessung.ocd''. | ||
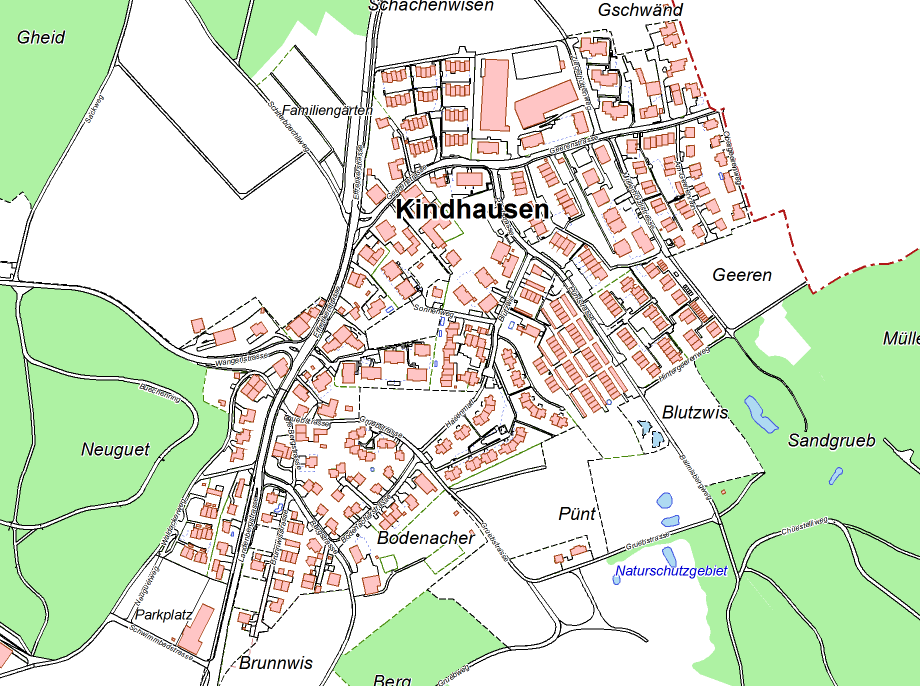
[[File:Kindhausen04]] | [[File:Kindhausen04.PNG]] | ||
Import ''Kindhausen_dxf.dxf'' | Import ''Kindhausen_dxf.dxf'' | ||
| Line 17: | Line 17: | ||
[[File:Hint.JPG]] Click [[File:ShowEntireMap.PNG]] '''Show Entire Map'''. | [[File:Hint.JPG]] Click [[File:ShowEntireMap.PNG]] '''Show Entire Map'''. | ||
[[File: | [[File:Kindhausen05.PNG]] | ||
[[File:Hint.JPG]] Select an object with the mouse, to see on which layer it is located. The layer information is based on "DXF-Geobau Layerdefinition" (Swiss standards SN 612'020). | [[File:Hint.JPG]] Select an object with the mouse, to see on which layer it is located. The layer information is based on "DXF-Geobau Layerdefinition" (Swiss standards SN 612'020). | ||
Revision as of 12:18, 9 November 2011
Link: http://www.cadastre.ch/internet/cadastre/en/home/topics/avs/structure.html
Open OCAD file
Open the file Symbol Set Amtliche Vermessung.ocd.
Import Kindhausen_dxf.dxf
File:Kindhausen ImportDXFFile.PNG
Check Import INSERT as point object
- -> OK
File:Hint.JPG Click File:ShowEntireMap.PNG Show Entire Map.
File:Hint.JPG Select an object with the mouse, to see on which layer it is located. The layer information is based on "DXF-Geobau Layerdefinition" (Swiss standards SN 612'020).
convert imported layer
choose Convert Imported Layer to Symbols from Map menu and Load Basisplan_DXF_Layerstruktur.crt.
File:Kindhausen ConvertImportedLayerToSymbols.PNG
- -> Execute
DEM Import
choose DEM Import from DEM menu and Add Kindshausen_asci.asc.
- -> Analayze and Save as an ocdDem file.
Create Hill Shading
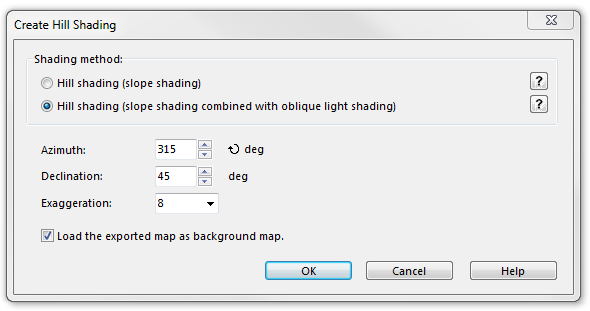
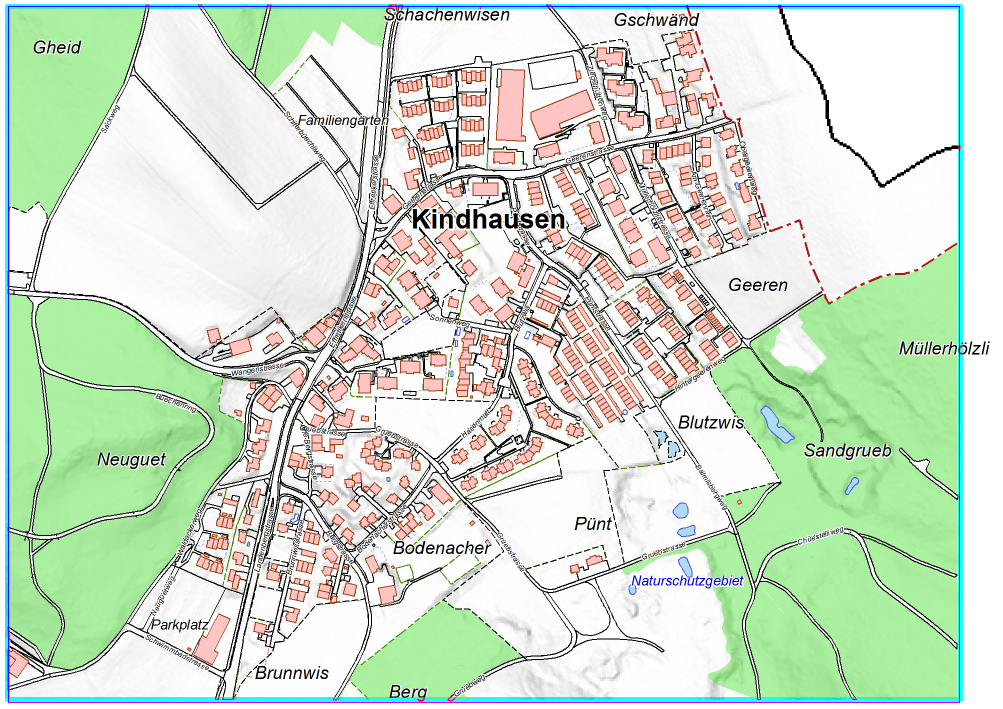
Choose Create Hill Shading from DEM menu. Choose Hill shading (slope shading combined with oblique light shading) and check Load the exported map as backgroundmap.
File:Hint.JPG To see the results better, set Exaggeration to 8.
Create Contour Lines
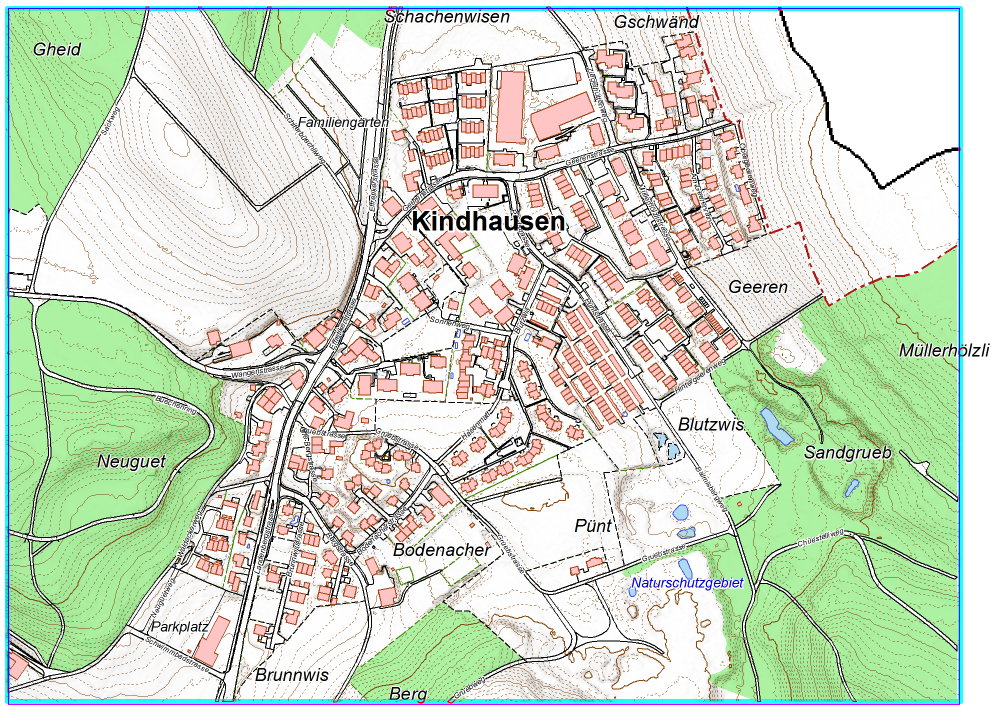
Choose Create Contour Lines from DEM menu. Select desired Contour interval and appropriate line symbols.
- -> OK


