Upload to SPORTident Center: Difference between revisions
No edit summary |
|||
| Line 64: | Line 64: | ||
[[File:SICenter_ManageEvent03.png]] | [[File:SICenter_ManageEvent03.png]] | ||
[[File:Hint.jpg]] The Trial version is limited. So it is only possible to upload the first 3 courses! | |||
===Step 3: Upload=== | ===Step 3: Upload=== | ||
Latest revision as of 16:37, 23 July 2020
SPORTIdent is providing Timing products and is widely used for orienteering competitions and trainings. The OCAD function Upload to SPORTident Center can be found in the Course Setting menu of the OCAD programm. It will upload maps, courses and course data directly to the SPORTident Center. From there, you can publish your events in the web.
More about SPORTident | Login to SPORTident Center
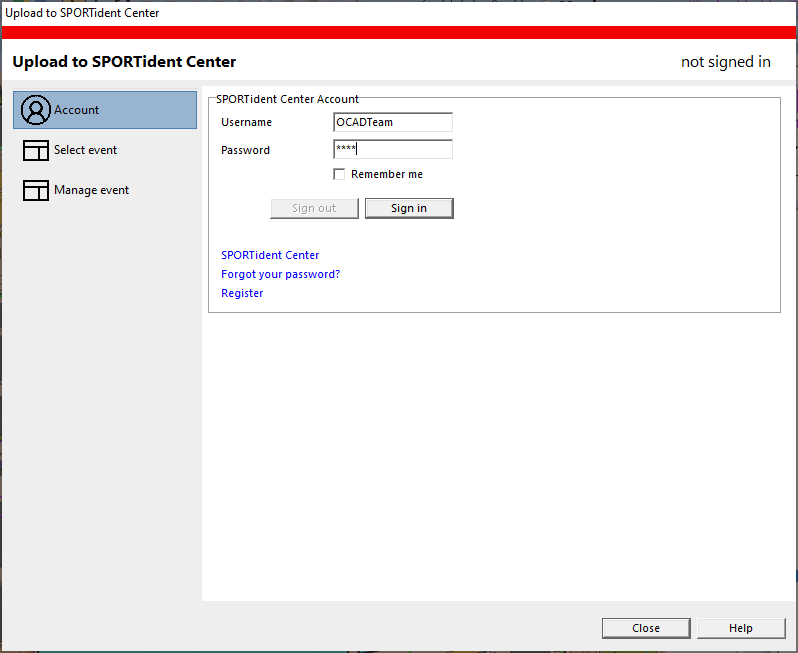
Account
Before you are able to upload data, you need to sign in with your SPORTident Center Account.
Register here to create such an account.
Select Event
You can either create a new event or select an existing one to edit. In both cases you will be forwarded to the Manage Event section afterwards.
If you edit an event, it’s important to select the event for the currently open course setting project.
Hide past events: Hide events, that are more than 2 weeks in the past.
Note: Events listed here can only be deleted in the SPORTIdent Center.
Manage Event
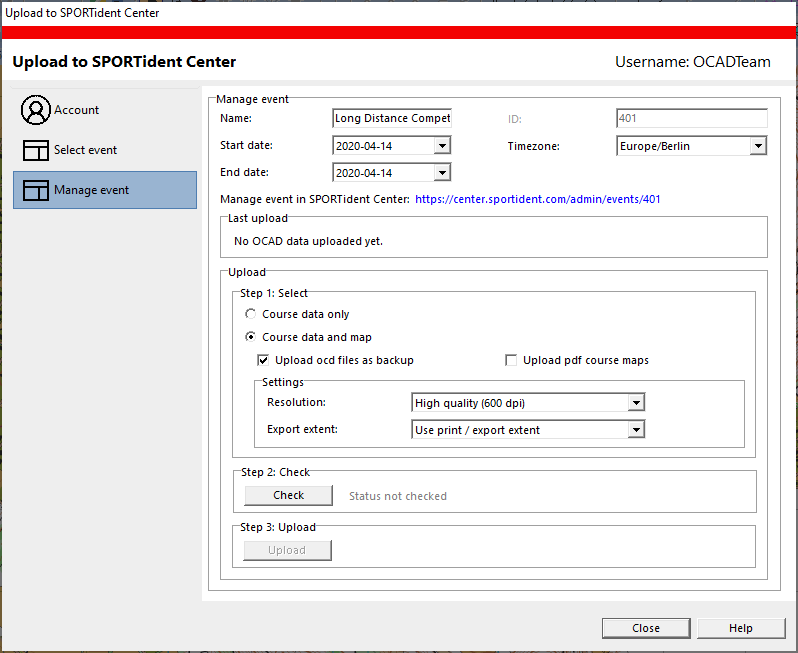
Settings
- Name: The default name is according to the Event title in the Course Options. Change this name if you like.
- Start and end date: Choose the start and end date of your event. An orienteering event is running normally one day.
- Time zone: Choose the time zone of your event. The default time zone is taken from your Windows settings.
- ID: This field is filled in automatically.
Click on Create and the event will be set up.
A link is displayed, which leads you to the event in the SPORTident Center.
Upload
Step 1: Select
You can either upload Course data only or Course data and map.
- Course data only
- No options possible.
- Course data and map:
- Upload ocd files as backup: Upload ocd files, so they are saved in the SPORTident Center as a backup.
- Upload pdf course maps: Activate this option to upload course maps as PDF’s to the SPORTident Center. Club members can download and print these PDF’s in good quality and go training by themselves.
- Resolution: Choose the desired resolution.
- Export extent: Choose the desired export extent. You also have the possibility to choose an own extent specified and saved before under Setup_Part_of_Map.
 This makes sense, if you don’t not want to publish the whole map, but only a smaller part of it. Be careful and double-check your uploads in the SPORTident Center.
Step 2: Check
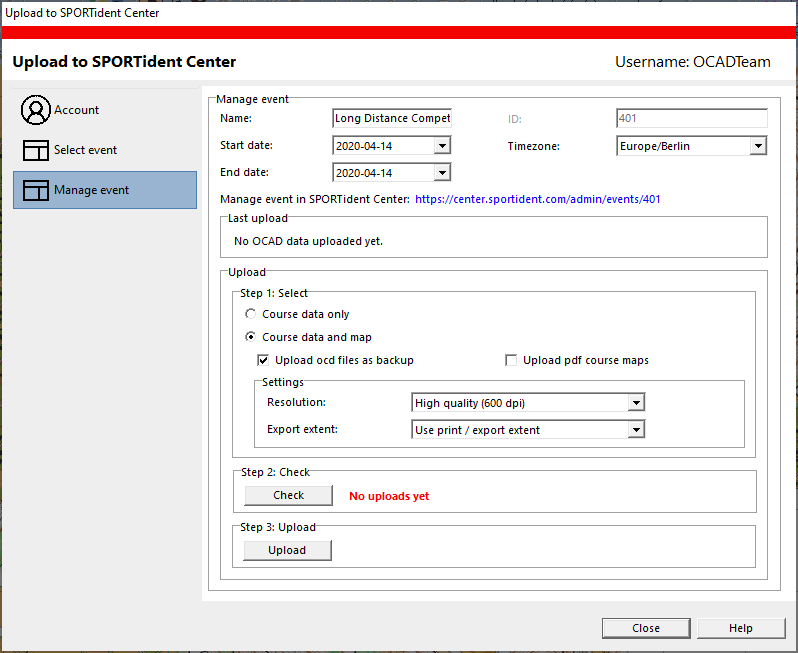
After you entered all information in Step 1, click on Check.
The data will be processed in the background.
- No uploads yet: There have not yet been uploaded any data to SPORTident Center.
- Not up-to-date: The data on the SPORTident Center are not the same as in your course setting project, as you have made changes to the course setting project since the last upload.
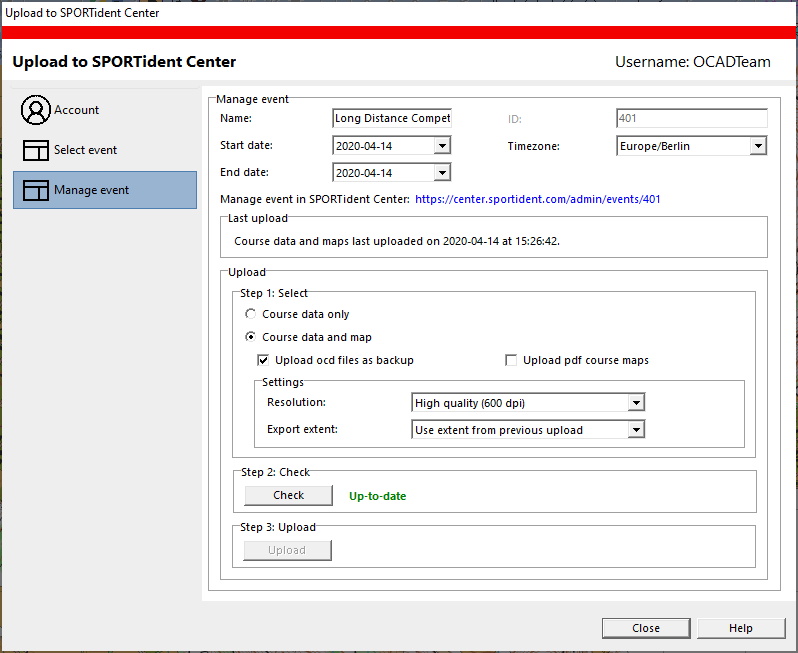
- Up-to-date: The data of your course setting project are identically with the data in the SPORTident Center.
![]() The Trial version is limited. So it is only possible to upload the first 3 courses!
The Trial version is limited. So it is only possible to upload the first 3 courses!
Step 3: Upload
Click on Upload to upload the data to SPORTident Center. After a successful upload, your data will be Up-to-date.
![]() Uploaded data to the SPORTident Center will not be published directly in the web. You need to do so in the SPORTident Center itself, where you can preview and check the data before.
Uploaded data to the SPORTident Center will not be published directly in the web. You need to do so in the SPORTident Center itself, where you can preview and check the data before.


