Multiple Representation
Jump to navigation
Jump to search
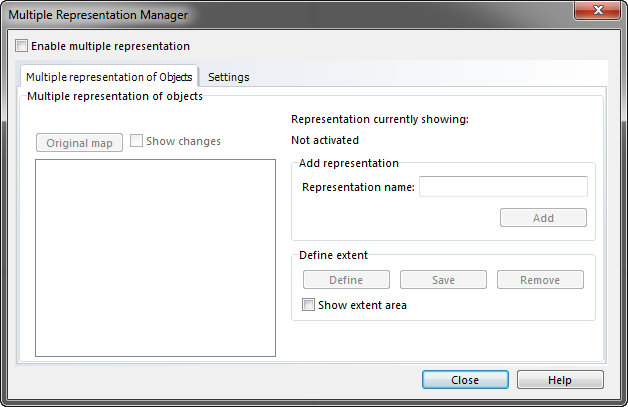
Choose the command Manager from the Multi Representation menu and click on Enable multi representation to enable this function.
![]() Once activated, this function can't be disabled again.
Once activated, this function can't be disabled again.

Add project
- Enter a distinctive project name.
- Click on the Add button.
- The new project gets listed in the Projects window at the end.
![]() The activated project get's shown at Project currently showing, above Add project.
The activated project get's shown at Project currently showing, above Add project.
![]() To change the active project, the desired project has to be duble clicked.
To change the active project, the desired project has to be duble clicked.
Show changes
This function allows to seen the difference between the currently activated project and the original map.
Define extent
- Click on the Define button.
- A black rectangle gets shown, which can be moved and changed in size.
- Click on the Save button to save the current extent.
- The extent gets shown with a red frame.
Previous Chapter: Layout
Next Chapter: Export Files
Back to Main Page