Multiple Representation
What is Multiple Representation in OCAD?
Multiple representation is the opportunity to manage different map sheets in one OCAD file. In the single representation, you can move and delete object of the original map among other things for the adjustment of the edges. Further objects can also be added in a single representation if they should exist only there. This feature can be used to create customized maps with additional features. The multiple representation is available in the editions OCAD 12 Professional and OCAD 12 Mapping solution. OCAD maps with an active multiple representation can only be opened with this two editions.
Multiple Representation Manager
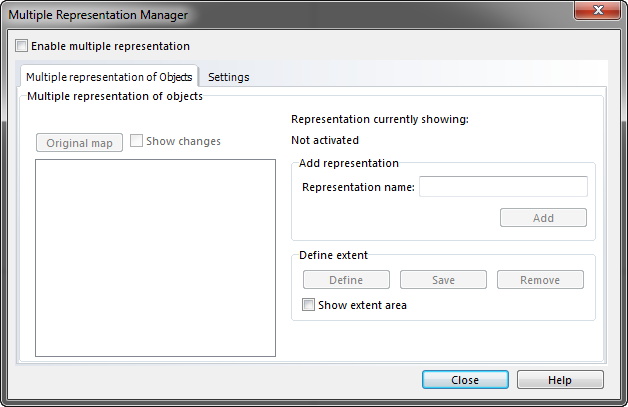
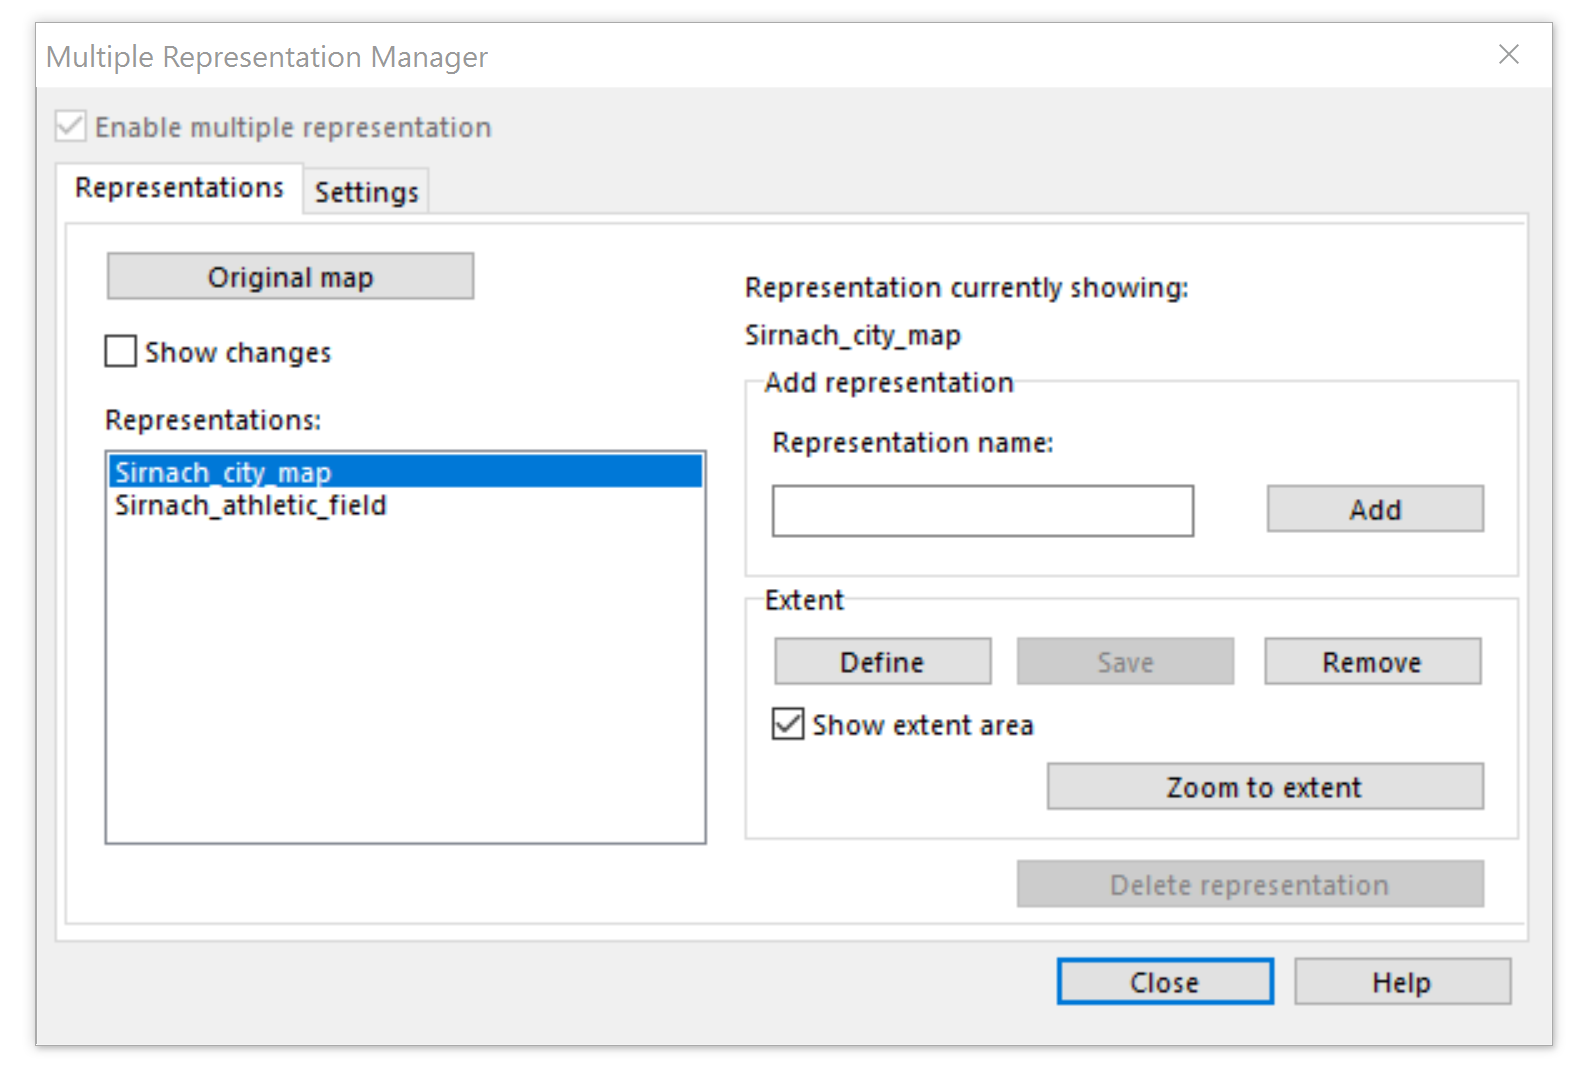
Click on Multiple Representation -> Manager… to open the manager. The multiple representation manager serves for the activation and management of the representations. You can only activate the multiple representation in the multiple representation manager.

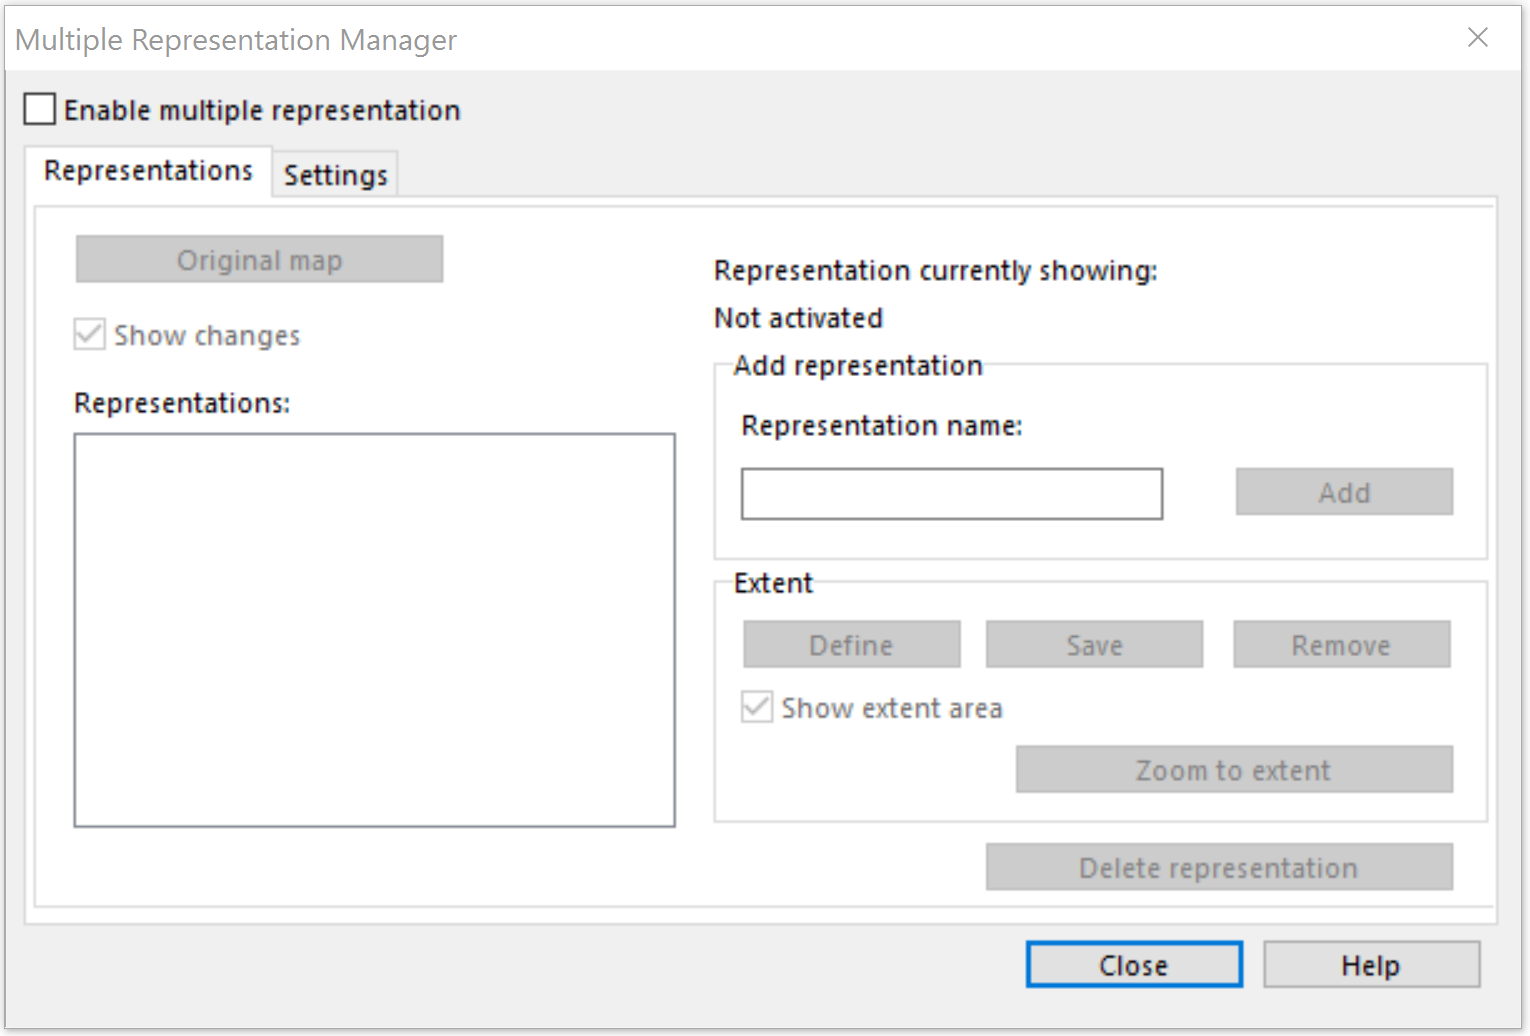
Representations
Add Representation
Enter the name of the representation in the field Representation name and click on the button Add.
You see the added representation in the list of the Representations on the left side.
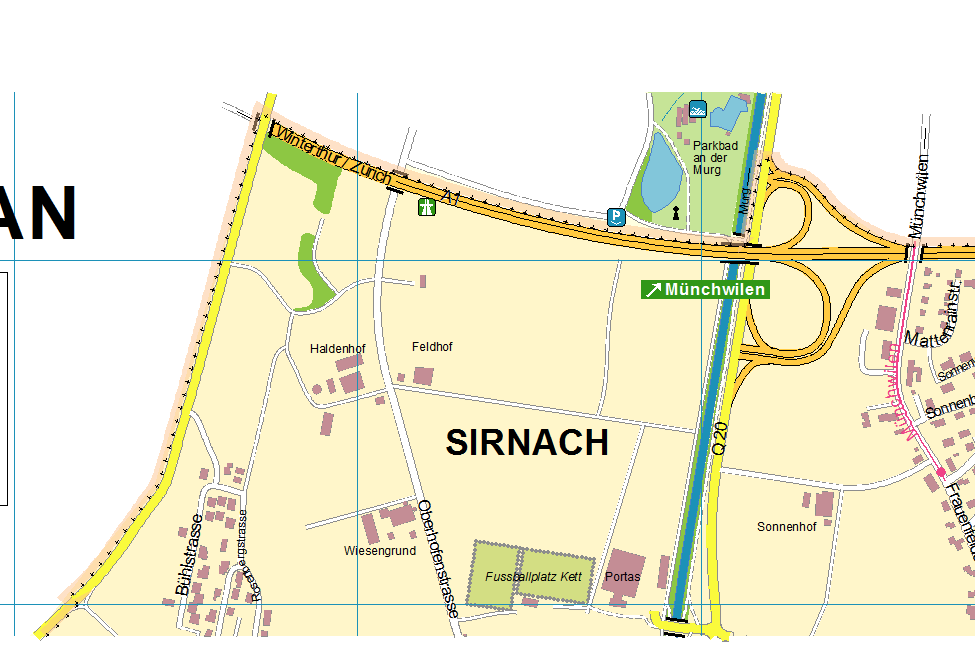
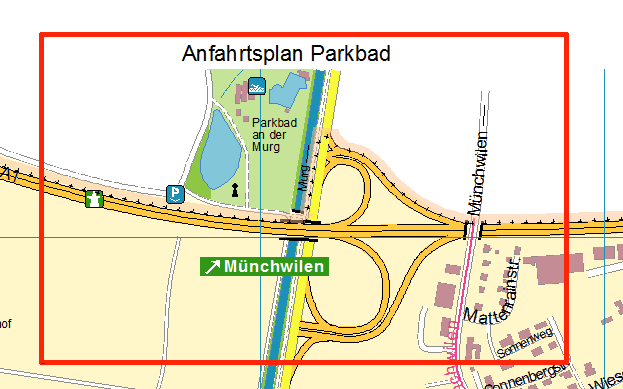
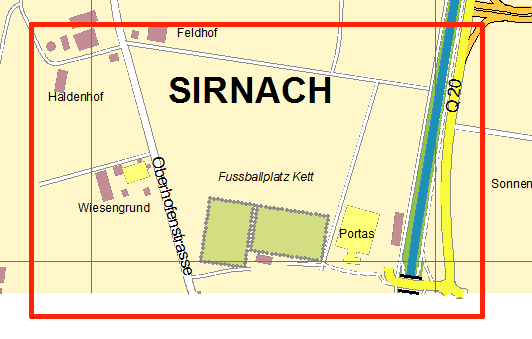
After the activation of the multiple representation and the adding of new representations Sirnach_city_map and Sirnach_athletic_field look like this:
Set, Save and Remove the Extent
In the section Extent, you have the possibility to show the extent of the map sheets in OCAD. Click on the button Define and define the extent of the representation with the rectangle in the map window. Click on Save. You can remove the extent, if you click on Remove or you can overwrite it by defining and saving a new one.
Zoom on the Extent
If you have defined an extent for the current shown representation, you can click on the button Zoom to extent to zoom to the extent of this representation.
Change the Currently Showing Representation
The currently showing representation is the Sirnach_city_map. With a double click on the favored representation you can change between the representations. You see the currently showing representation in the top right of the dialog.

Original Map
If you click on the button Original Map, the original map is shown in the drawing area.
Show Changes
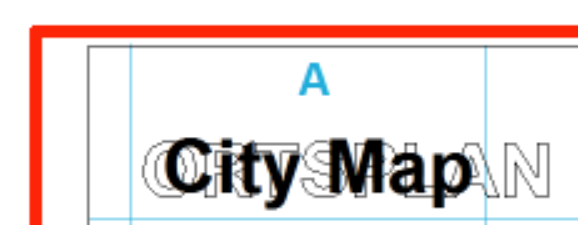
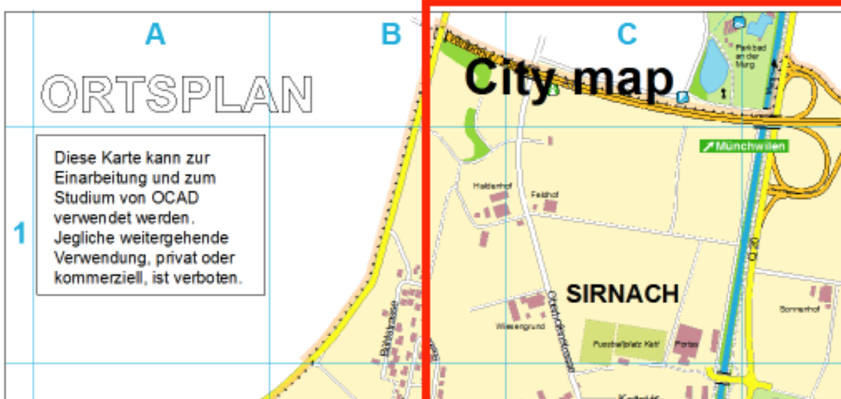
If a representation is shown, you can activate the option Show changes. All the objects, that have been moved or deleted compared to the original map, are shown in the Keyline modus. Like the label „Ortsplan“ in this example:
Delete Representations
A representation can be deleted, if it isn’t the currently showing representation. Click (once, no double click) on the representation in the list and click on the button Remove.
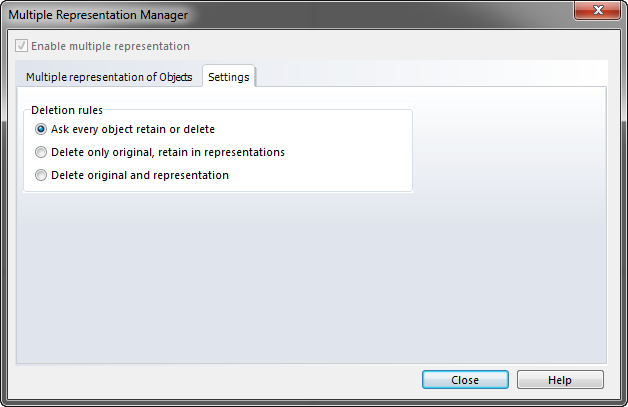
Settings
You can manage the properties on deleting or update object of the original map in the Settings tab.

Delete Objects
- Ask every object
If an object is deleted in the original map, a dialog appears and asks, if you also want to delete the object in the representations or if you want to keep it there. This dialog appears once per object and representation.
- Delete only original, keep in representations
If an object is deleted in the original map, it is kept in the representations.
- Delete original and representations
If an object is deleted in the original map, it is also deleted in the representations. Note: If an object is deleted in the representation, there are no effects to the original map and the other representations. To delete an object in all representations, you have to delete it on the original map.
Update of original objects with representation(s)
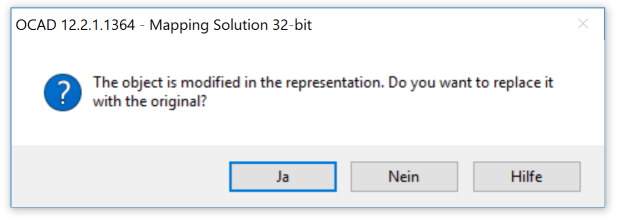
Here you can define the properties if an object is changed in the original map, that is already changed in a representation.
- Ask every object
If an object is changed in the original map, a dialog appears to ask if the changes should be assumed to each representation. This dialog appears once per object and representation.
- Always update representation objects
If an object is changed in the original map, the changes are automatically assumed to all representations.
Copy Objects from the Original Map to the Representation
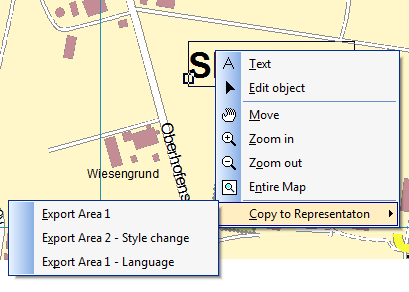
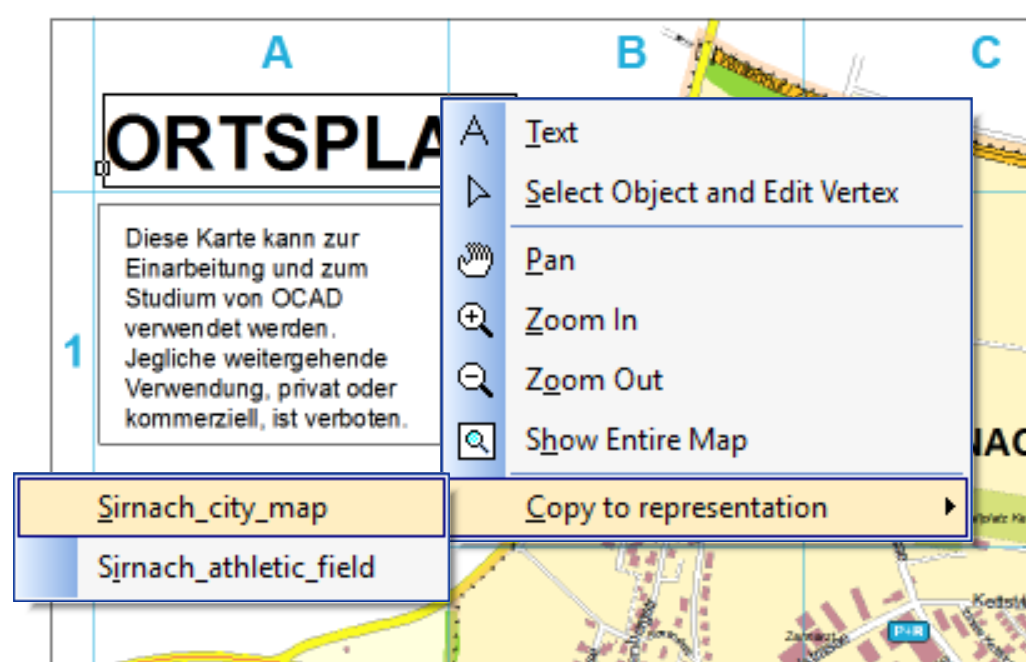
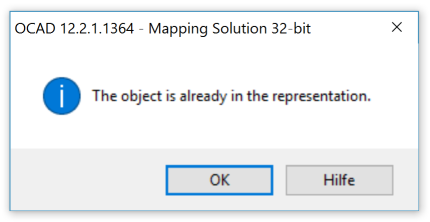
Objects can be copied from the original map to a representation. Select the object and click with the right mouse button on Copy in representation. You can choose in which representation you want to copy your object.
Disable multiple representation
The multiple representation can be disabled in an OCAD map: Multiple Representation -> Disable multiple representation... The contents of the representations get lost.
Print and Export
If you print or export the map, the currently showing representation/original map is printed or exported.
Restrictions
The function in the menu Thematic Map can’t be used, if the multiple representation is activated. Following functions are only available, if the original map is shown:
- Import files
- Functions in the menus Map, Database, DEM, GPS
Choose the command Manager from the Multiple Representation menu and click on Enable multiple representation to enable this function.
- The file must be saved before it is possible to enable Multiple Representation
 Once activated, this function can't be disabled for the file again.
Add project
- Enter a distinctive project name.
- Click on the Add button.
- The new representation gets listed in the left panel at the end.
 The activated representation get's shown at Representation currently showing, above Add representation.
 To change the active representation, the desired representation has to be double clicked.
Show changes
This function allows to see the difference between the currently activated representation and the original map. For all objects that has been altered with the original one is shown in Keyline.
Define extent
The definition of an extend should be understand as guidelines to help defining areas the representation should be done. The extent doesn't prevent from altering objects outside the defined area.
- Click on the Define button.
- A black rectangle gets shown, which can be moved and changed in size.
- Click on the Save button to save the current extent.
- The extent gets shown with a red frame.
Settings
In the settings tab it is possible to select the behavior for the deletion of objects.
![]() This behavioral setting is only relevant for deletion of objects in the original map.
This behavioral setting is only relevant for deletion of objects in the original map.
The behavior can be chosen between:
- Ask every object retain or delete
- A message will occur for every object if it should be retained in the representations (it means a copy is created for every representation) or it should be deleted. Any changes to the object in a representation will be kept.
- Delete only original, retain in representation
- The object will be removed from the original map but will be retained in every currently available representation. Same as above but with the fixed answer to yes.
- Delete original and representation
- The object will be deleted from every representation without keeping changes or anything.
Copy to representation
If you deleted one or several objects from a representation you can undo the deletion by going to the original map, select the objects an open the right-click context menu. It will expand with the menu item Copy to Representation and showing all defied representations. This can also be used to revert changes from objects to the original objects. If you copy objects from the original map to the representation and they have been changed, all changes will be overwritten.
Example - How OCAD Multiple Representation is meant to work.
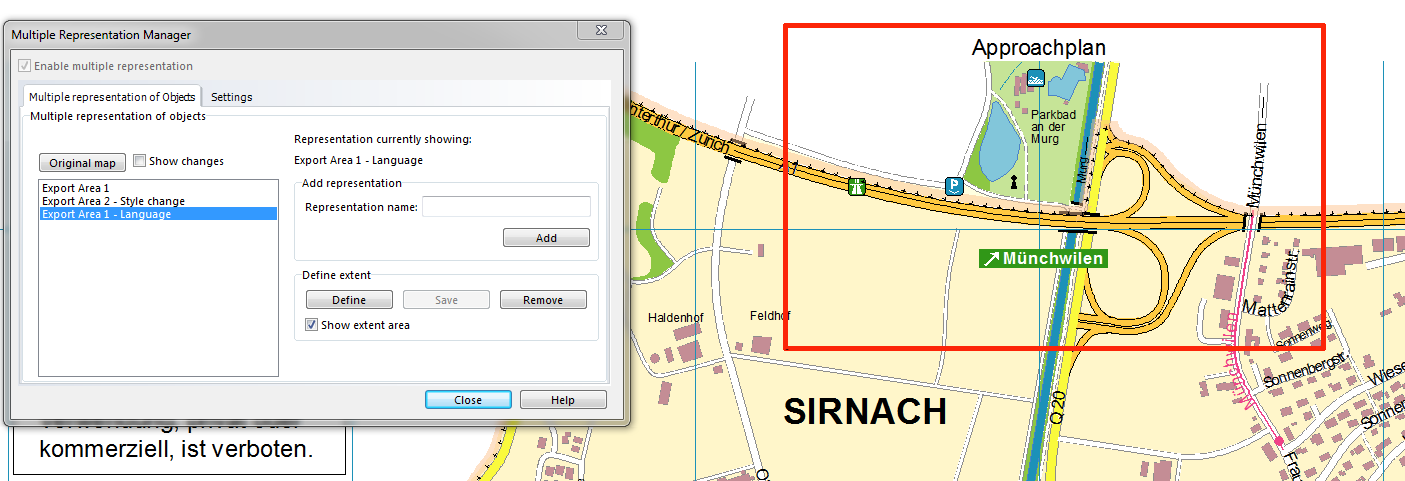
Multiple Representation of objects in OCAD is meant to enable the ability for different representations of map objects, variation of places for texts due to map borders and also different languages. All of it will be maintained in a single OCAD file. The following example is taken from the OCAD sample maps set "Sirnach".
The map has three different representation with slight changes. For the representation currently showing the area is defined around the highway intersection and the public park bath Murg. The map title is approach plan. As can be seen from the original map, there has not been any map title nor would the highway symbol be in the border, this has all been done in the representation.
Another representation is showing the same area for the approach plan but with a German title.
Yet another example from the same map shows another area where the place names has been moved into the desired area and also two buildings have been re-styled to show of that different symbolisation can be done within the multiple representation.
Back to Main Page
Previous Chapter: Layout
Next Chapter: Export Files
