Route Analyzer: Difference between revisions
| Line 71: | Line 71: | ||
All calculated routes will be shown in the '''Route Box'''.<br> | All calculated routes will be shown in the '''Route Box'''.<br> | ||
You see on the left side, if the route is visible or not. The right side shows you between which two controls the route has been calculated.<br> | You see on the left side, if the route is visible or not. The right side shows you between which two controls the route has been calculated.<br> | ||
Right-click on a route to rename or delete it. | |||
[[File:RouteAnalyser routeBox.png]] | [[File:RouteAnalyser routeBox.png]] | ||
Revision as of 16:28, 2 March 2020
This function is available in course setting projects for sprint orienteering maps, ski orienteering maps and mountain bike orienteering maps.
It helps you to see and evaluate possible routechoises between two controls.
You will also get the shortest route for each course.
![]() --> See a short video on Youtube, which explains you the basics.
--> See a short video on Youtube, which explains you the basics.
Open Route Analyzer 


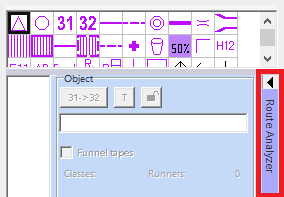
When you are in a Course Setting project, you will see a purple bar at the right side called Route Analyzer. Click on it and the bar will open.
How it works
When you run the Route Analyzer the first time, the function will need some time to proceed all necessary steps to show possible routes.
This includes:
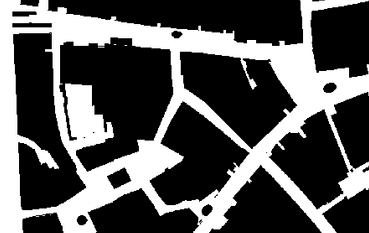
- Process impassible features
- Create graph nodes
- Connect nodes
- Calculate routes
The larger your map is, the more time it will take to prepare the map. The calculation of the route itself will be quite fast. You can follow the progress in the lower left corner of the OCAD window.
If you calculate additional routes, it will be much faster, as the function doesn't need to prepare the map again.
Here, too, the longer and more complex the route is, the longer it takes to calculate.
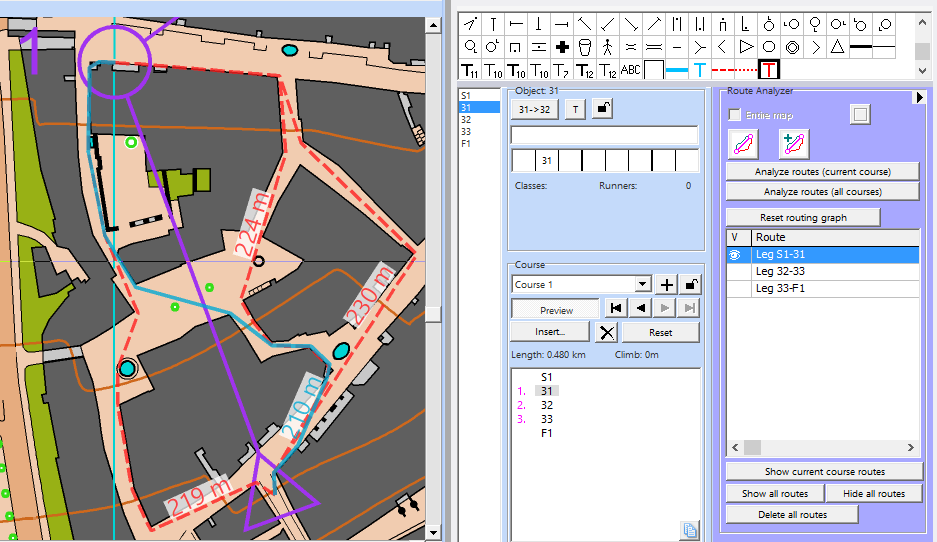
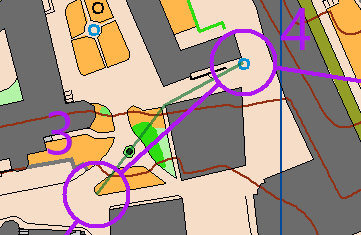
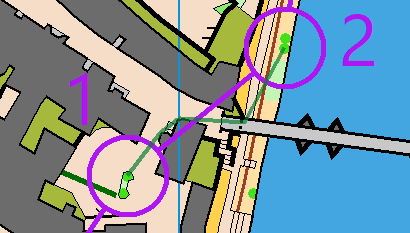
The shortest option is displayed with a solid blue line. The distance of the route is also shown with a text symbol.
Alternative routes are shown in red color.
Route Analyzer Box
You can either calculate only a route between two points, the whole route of a course or the routes for all courses at once.
There are many ways to display the routes.
Define the perimeter
- Entire Map: This may take quite long time to prepare the map, depending on its size.
- Define perimeter: Draw a perimeter on the map. The perimeter will be shown with a light blue line. Routes will only be analyzed in this perimeter.
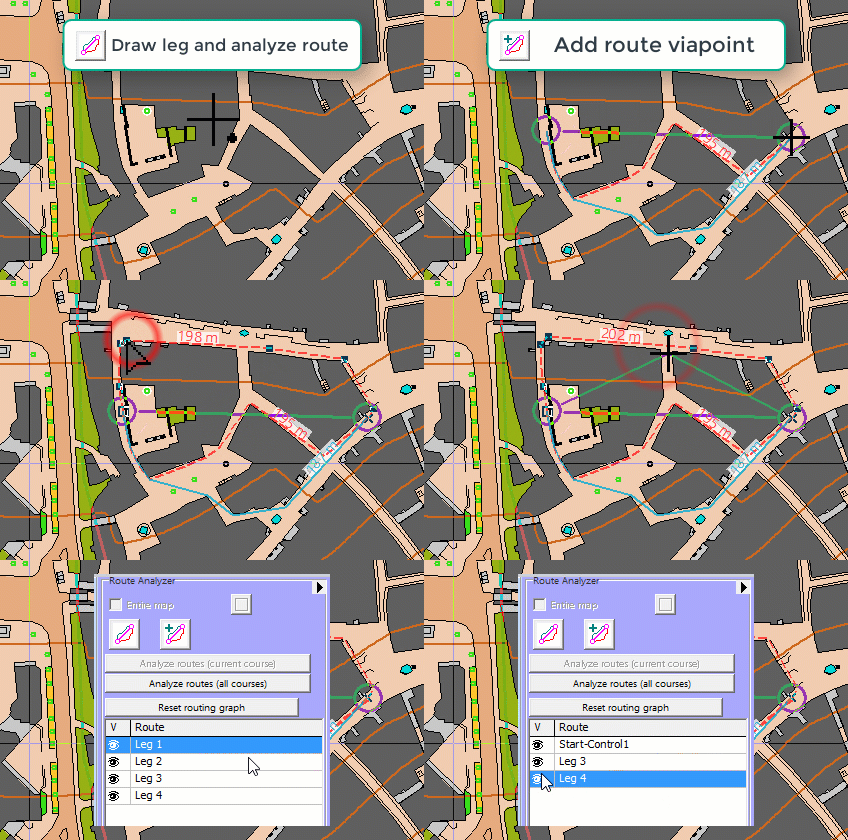
Draw leg and analyze route
You can calculate routes only between two points.
- Click on Draw leg and analyze route.

- Click and drag a line in the OCAD window.
- Repeat these two steps for further routes.
The routes will be saved in the Route Box.
Add route via point(s)
- Click on Add route via point(s).

- Touch an existing route on the map and release where the new route should pass. The route is calculated again.
- Insert multiple via points by pressing the SHIFT key.
Analyze routes (current course)
- Select a course in the Course Box.
- Click on Analyze routes (current course).
- All routes will be saved in the Route Box.
A Text-File will be created to adjust the course length.
Analyze routes (all courses)
- Click on Calculate routes (all courses).
- All routes for all courses will be calculated and will be saved in the Route Box.
A Text-File will be created to adjust the course length.
Reset routing graph
Click on Reset routing graph to process again all impassible features and build up the nodes.
This may be necessary if you detect a mistake in your map (e.g. an unwanted gap between two impassible features), which can be seen in the function Show Impassable Features.
After you corrected the mistake in your [Map File], you need to reset the routing graph, before calculating new routes.
Route Box
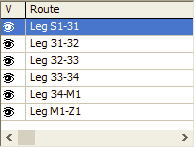
All calculated routes will be shown in the Route Box.
You see on the left side, if the route is visible or not. The right side shows you between which two controls the route has been calculated.
Right-click on a route to rename or delete it.
Show current course routes
Shows the routes of the select course in the Course Box. All routes of this course will be visible in the Route Box, all other routes will be hidden.
Show all routes
Show all routes in the Route Box.
Hide all routes
Hide all routes in the Route Box.
Delete all routes
Delete all routes in the Route Box.
Adjust Course Length
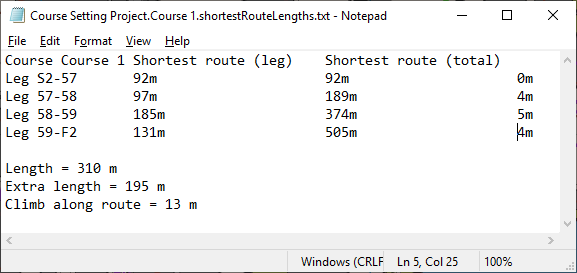
When you click on Analyze routes (current course) or Analyze routes (all courses), a .txt-File will be created in the same folder, where your course setting project is saved. This txt-File contains a summary of all routes, as well as a summary for each course for itself.
Example:
Course Setting Project.Course 1.shortestRouteLengths.txt
Course Setting Project.AllLegsRouteLengths.txt
- Length: The length of your course.
- Extra length: The difference between the shortest possible route of the course and the course length.
![]() For Sprint Orienteering Courses, it is common to show the length of the ideal route and not the course length. Add the Extra length value to the corresponding field in the Courses dialog.
For Sprint Orienteering Courses, it is common to show the length of the ideal route and not the course length. Add the Extra length value to the corresponding field in the Courses dialog.
- Climb along route: If there is a DEM loaded in the course setting project, climbing is calculated along the shortest route.
Limits of the function
The Route Analyzer is a great function. However, it's not working in every situation.
These are the limits of the function:
- The function is not (yet) considering the runnability. It only distinguish between passable and impassable features. The fastest route may go through a green area.
- Positive side effect: You may notice routes that you have not thought off before (e.g. possible route through green area).
- The function can't deal with different running levels, e.g. underpass, overpass, bridges or tunnels.
- Further mistakes may also be a result of bad map drawing. Check the function Show Impassable Features.
Editing the routes
You can edit the routes and labels manually. Just click on the routes and edit them. The length will not yet be adjusted automatically.
| Shift + Ctrl + |
Add Vertex |
| Ctrl + |
Remove Vertex |
| Ctrl + |
Remove Vertex with Mouse Over. |
See the Tips with Keyboard and Mouse page or the Select Object and Edit Vertex page for more information.
Last but not least
- Before printing/exporting your courses, be sure that all the calculated routes are hidden or deleted.
You probably don't want to give a map to the runners with all measured routes on it.
- The graph is automatically saved in the course setting project directory after calculating the first route (if the option "whole map" is selected) and reloaded when the file is opened again.
For that, three files are saved in the folder of the course setting project:
- [FILENAME CS PROJECT].ocdGraph
- [FILENAME CS PROJECT]. ~imp.tiff
- [FILENAME CS PROJECT]. ~imp.tfw
Whether a graph has been loaded or not can be seen by the fact that the "Reset routing graph" button is active.
- Credit goes to Fabian Hertner who helped us to develop this function with his ideas and knowledge.
