Installation: Difference between revisions
Jump to navigation
Jump to search
No edit summary |
|||
| Line 8: | Line 8: | ||
# Remove the CD from the disk drive after the installation is completed and keep it in a safe place! | # Remove the CD from the disk drive after the installation is completed and keep it in a safe place! | ||
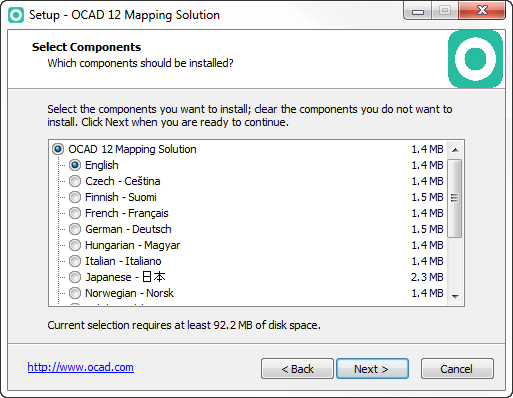
[[File:SetupLanguage | [[File:SetupInstallation.png|Setup]] | ||
[[File:SetupLanguage.png|Language Setup]] | |||
==Activation of OCAD 11== | |||
[[File:SetupActivation.png|Activation Wizard]] | |||
Revision as of 12:34, 4 November 2013
Installing OCAD 11
OCAD 11 requires Windows XP (Service Pack 3), Windows Vista (Service Pack 1), Windows 7 or Windows 8 (32 or 64 bit). OCAD 11 is a 32 bit software.
- Insert the OCAD 11 CD into the disc drive. The installation wizard starts after a while. If the start screen does not appear, start the Windows Explorer and double-click Ocad_11_[Edition]_Setup.exe in the root directory of the CD.
- The installation wizard will guide you through the OCAD 10 installation.
- The license name, the license number and license checksum are on the back of the CD cover.
- Remove the CD from the disk drive after the installation is completed and keep it in a safe place!


